Getting started
Sign in, answer a few questions about your business, and get your first article written.
This page walks the whole first session, start to finish. Budget about twenty minutes: five for setup, a few minutes while PressLoom researches your market, and about ten for your first article. You don't need to be technical for any of it.
Titanium sets up PressLoom accounts. You'll be given an email address and a password. There's nothing to buy inside the app and no plan to pick.
Signing in
Go to pressloom.io/login and enter the email address and password you were given. The eye icon at the right of the password box shows what you typed, which is worth using the first time since the password you were handed is probably long.
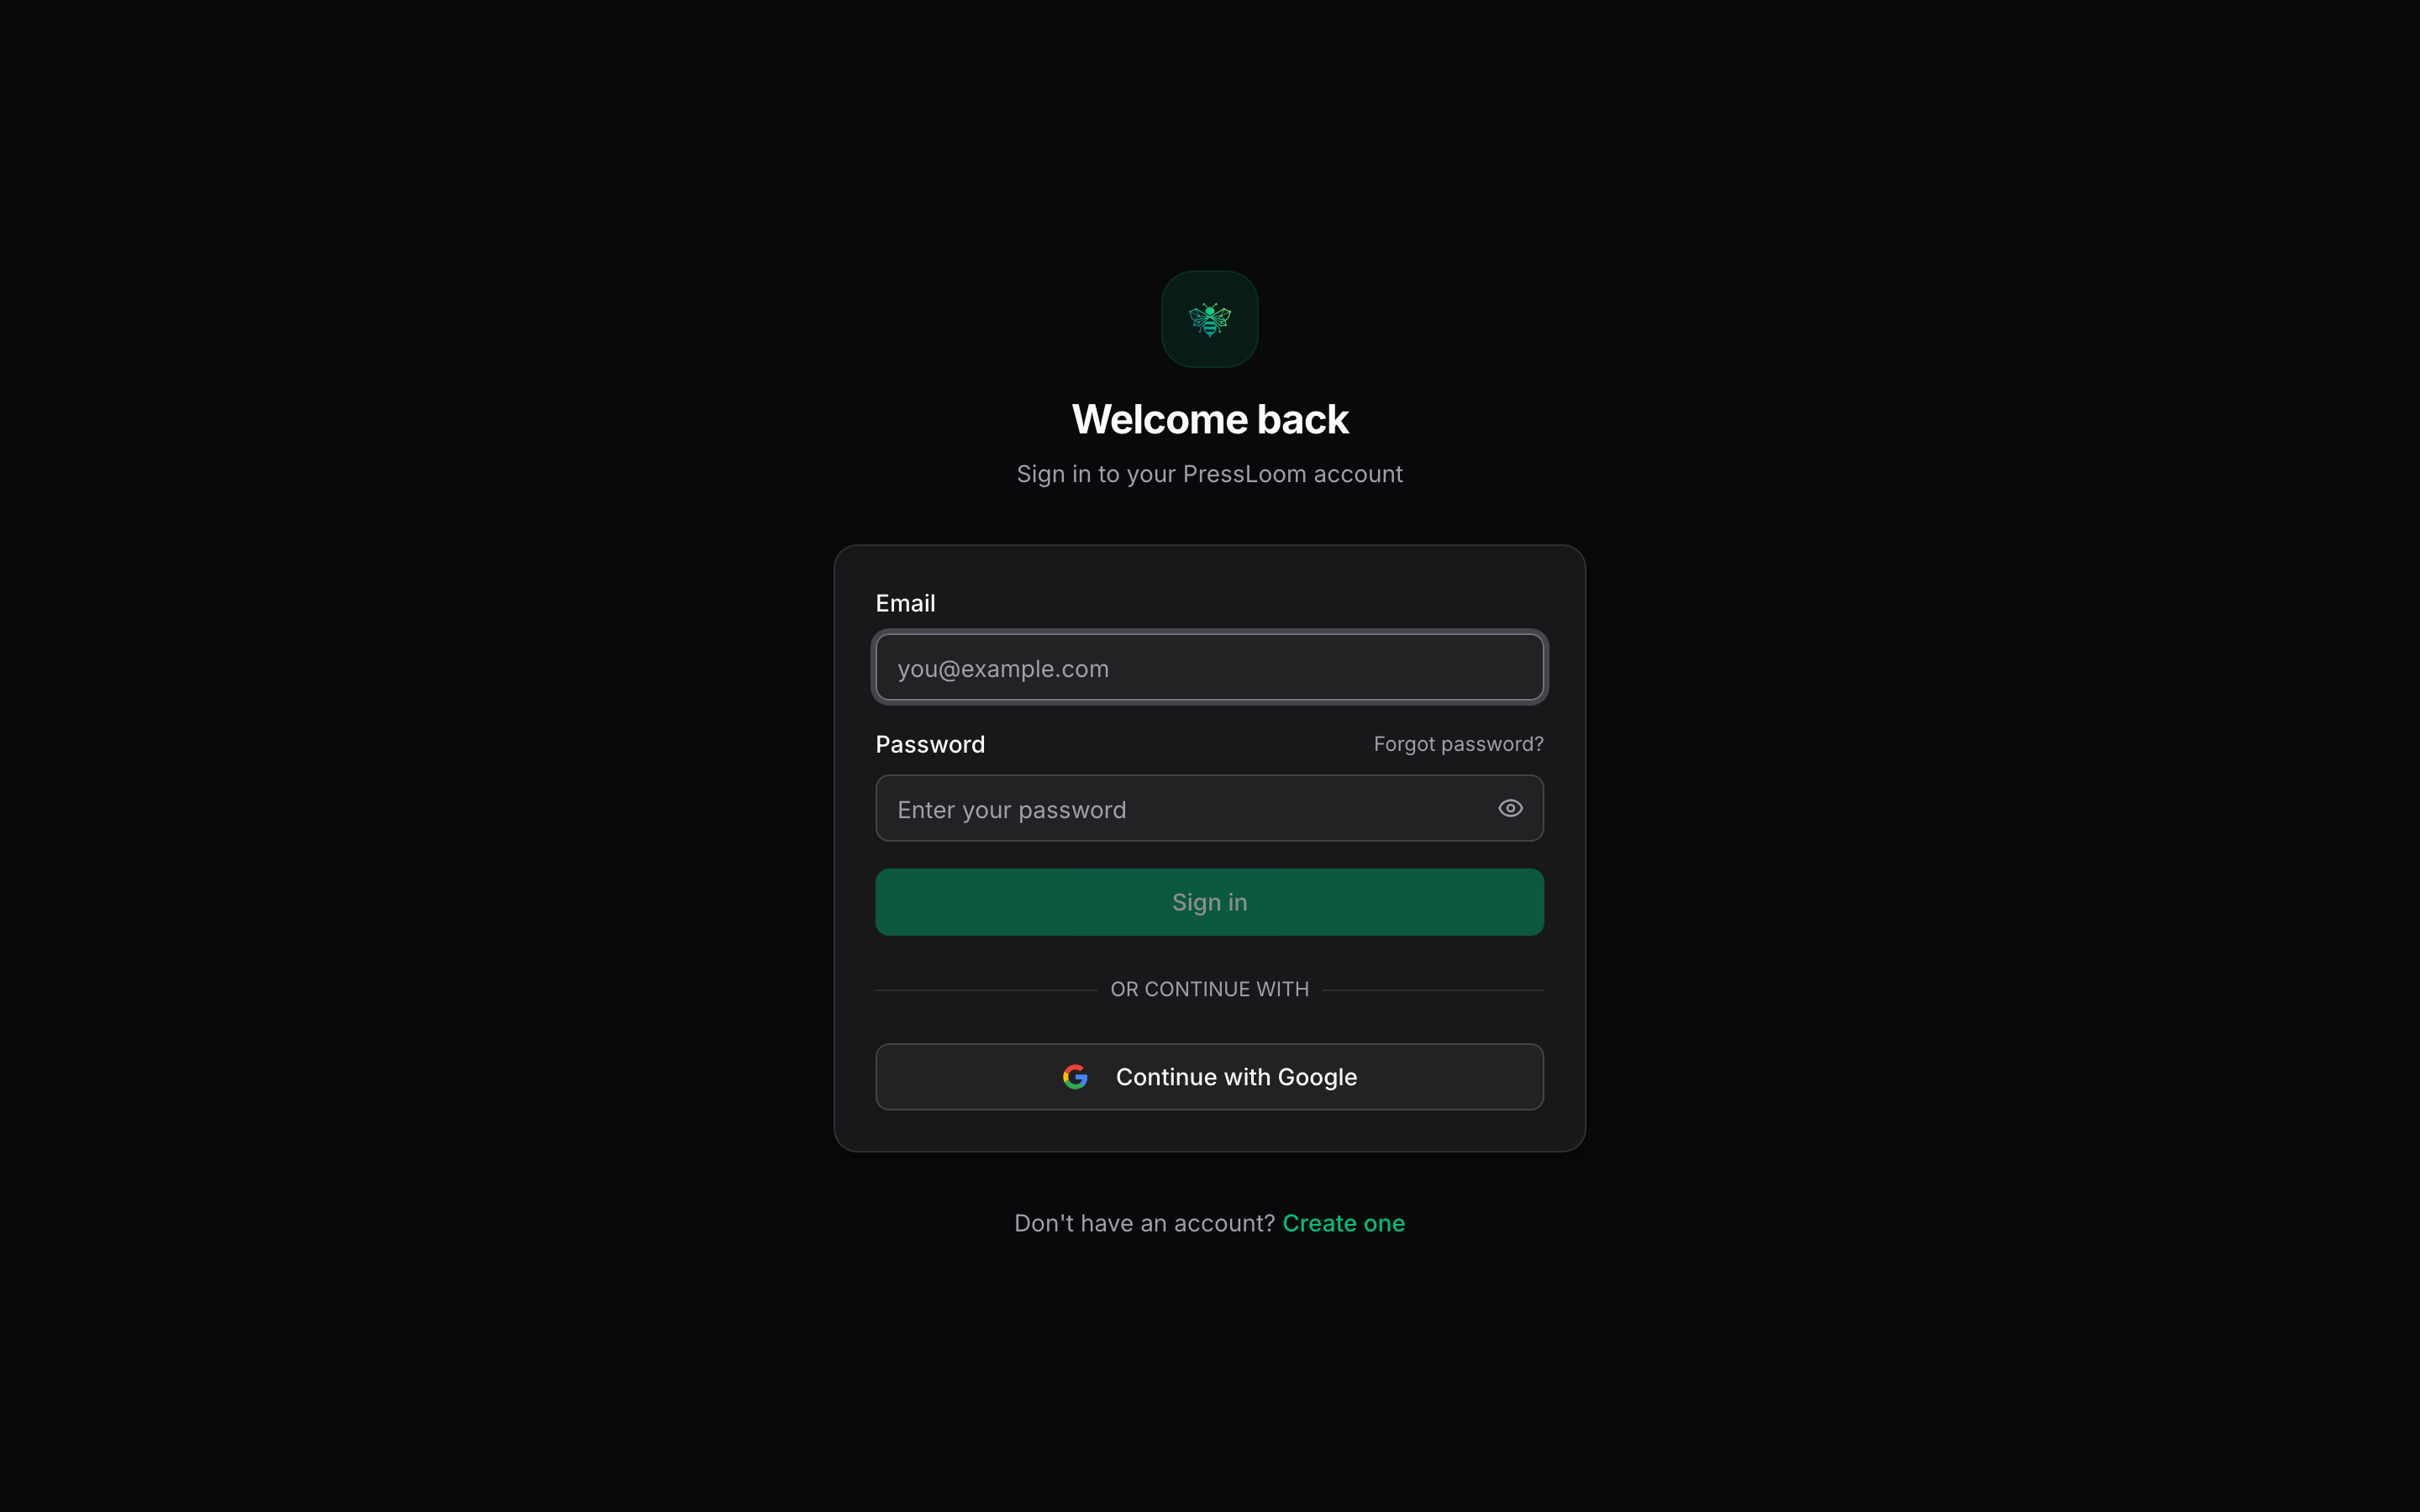
Ignore the Continue with Google button. It isn't connected yet, so it won't sign you in. Email and password is the way in.
Type your email in lower case. If you lose the password, click Forgot password? on the sign-in page and follow the email. If the reset email doesn't turn up within a few minutes, email [email protected] and we'll reset it for you.
Setting up your website
The first time you sign in, PressLoom asks for your website address. Type it and click Get Started. You can leave the https:// off; it gets added for you.
PressLoom then reads your site. That takes roughly fifteen seconds, and while it runs you'll see messages about analyzing your business, identifying your audience, finding competitors and scanning your sitemap. When it finishes, it drops you into a five-step setup wizard with as much already filled in as it could work out on its own.
Two things to know about the wizard before you start:
- Each Continue saves that step. You can close the tab, come back later, and pick up where you left off.
- Every step has a Skip. Skipping is permanent for that run of the wizard, but everything you skip can be filled in afterwards from Settings.
Step 1: Business
Website URL, business name, language, country, and a description of what you do. The description is the important one. Almost everything PressLoom writes later is derived from it, so read what the scan drafted and correct it. If the box is empty or wide of the mark, click Autocomplete With AI and it'll take another pass at your site, then edit the result.
Be specific about what you sell and who you sell it to. "IT support and managed services for small businesses in Central Texas" produces better keywords than "technology solutions".
Step 2: Audience and Competitors
Two lists side by side, up to seven entries each.
Target Audiences are free text. Describe the people you want reading the articles: "small business owners in Central Texas with 10 to 250 employees". Competitors are plain domains, one per line, like ntiva.com. Type an entry and click Add, or press Enter. Each list has its own Autocomplete With AI button that suggests entries from your business description.
Keyword research needs at least one audience and one competitor to run. If both lists are empty, the Generate Keywords button later on will refuse with a message saying it has no competitors or target audiences to work from. One of each is enough to get going.
Step 3: Blog
Everything here is optional. Your sitemap address (usually your domain with /sitemap.xml on the end), the address of your blog, and up to three links to articles you already published and like. The example articles are what PressLoom studies to match your writing style. If you have no blog yet, leave all of it blank and carry on.
Step 4: Articles
How articles should look and read. Set your brand color as a hex code or with the color picker, choose an image style, and use the switches to decide which extras articles include. None of it is permanent. It all lives in Settings afterwards and you can change your mind after reading a few articles.
Step 5: Integration
This is where you tell PressLoom where finished articles should go: a WordPress site, a site whose code lives in a Git repository, or one of the other platforms in the grid.
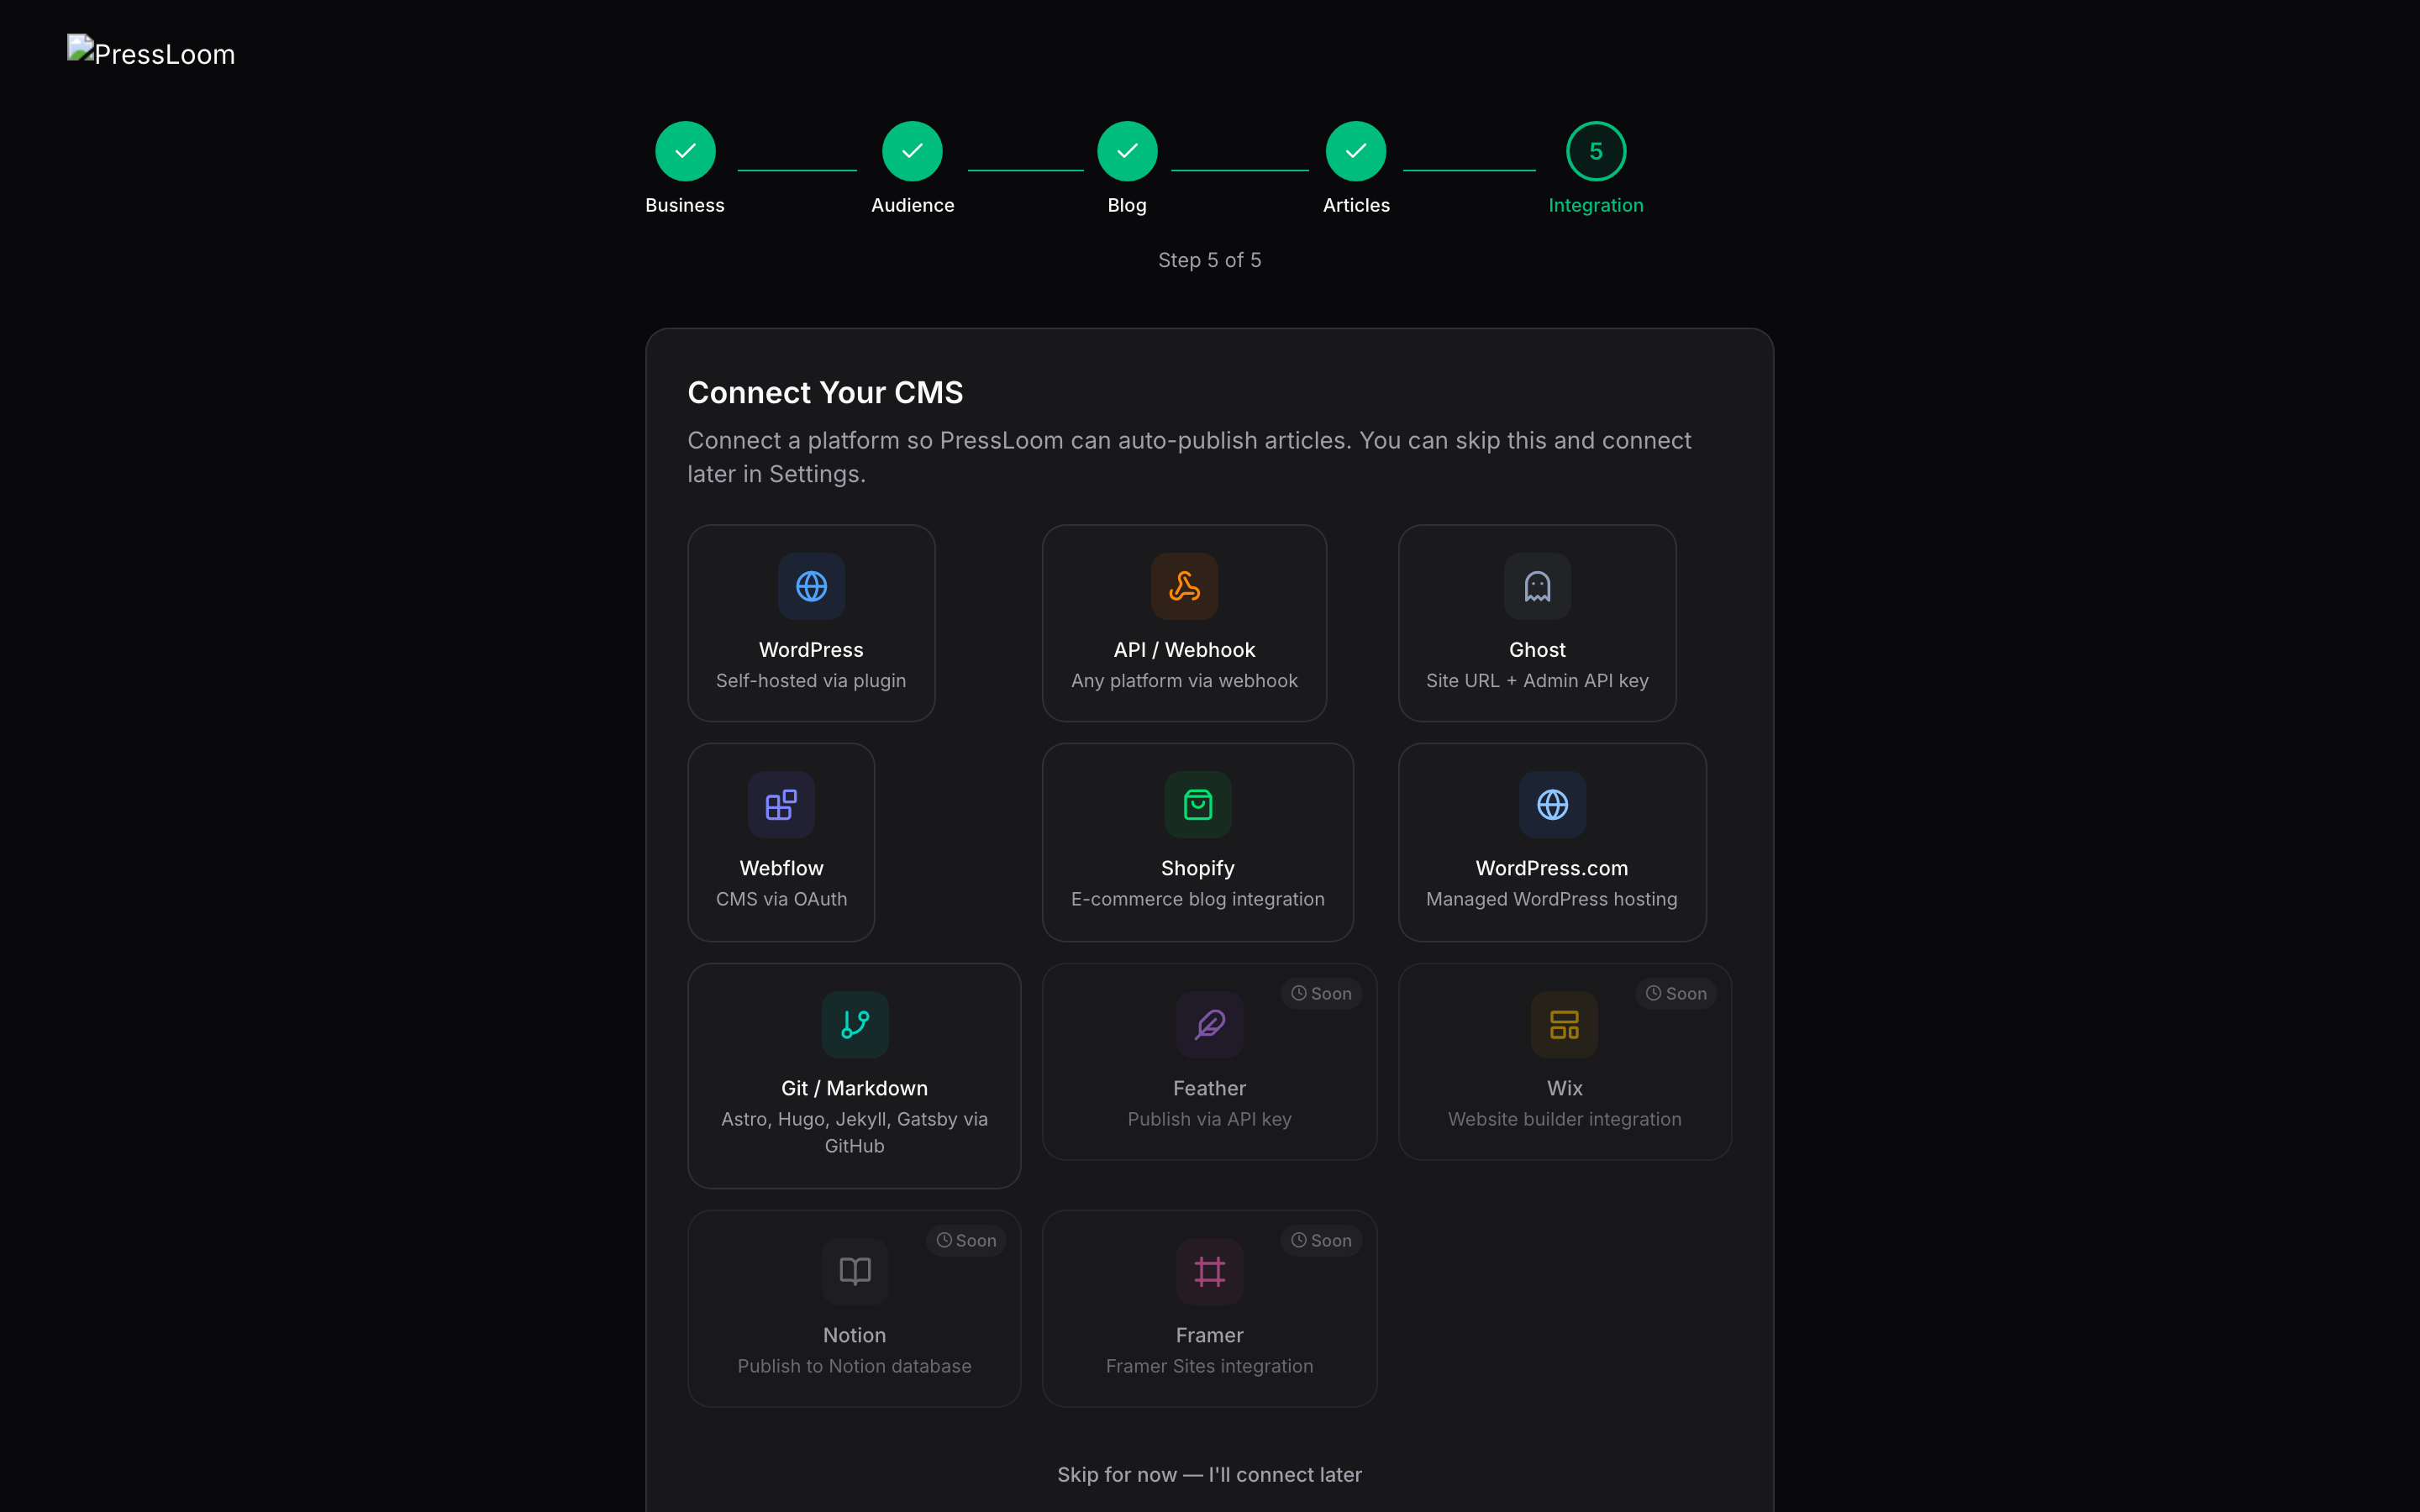
Two of these work today: WordPress, and Git / Markdown for a site whose code lives in a GitHub repository. Some of the other tiles carry a "Soon" badge, but not all of them do, so do not read an unbadged tile as ready. If your site is not WordPress or git-backed, ask Titanium.
You don't have to do this now, and for a first session we suggest you don't. Click Skip for now - I'll connect later at the bottom. You can write, edit and download articles without connecting anything, and connecting a site usually needs whoever runs your website. When you're ready, Connect your site covers both WordPress and Git in detail.
The strategy run
After the last step, PressLoom builds your starting strategy. A progress screen walks four stages: style analysis, keyword research, content planning, and finalizing. This is the slow part of setup. Usually a couple of minutes, occasionally up to five. Leave the tab open and let it finish.
When it's done you get a summary screen counting the competitors it analyzed, the audiences it identified and the articles it planned, with a button through to your calendar.
Where you land: the Content Planner
The Content Planner is your home screen. It's a month calendar, and each day holds one keyword card: a topic PressLoom intends to write about, on the day it's scheduled for.
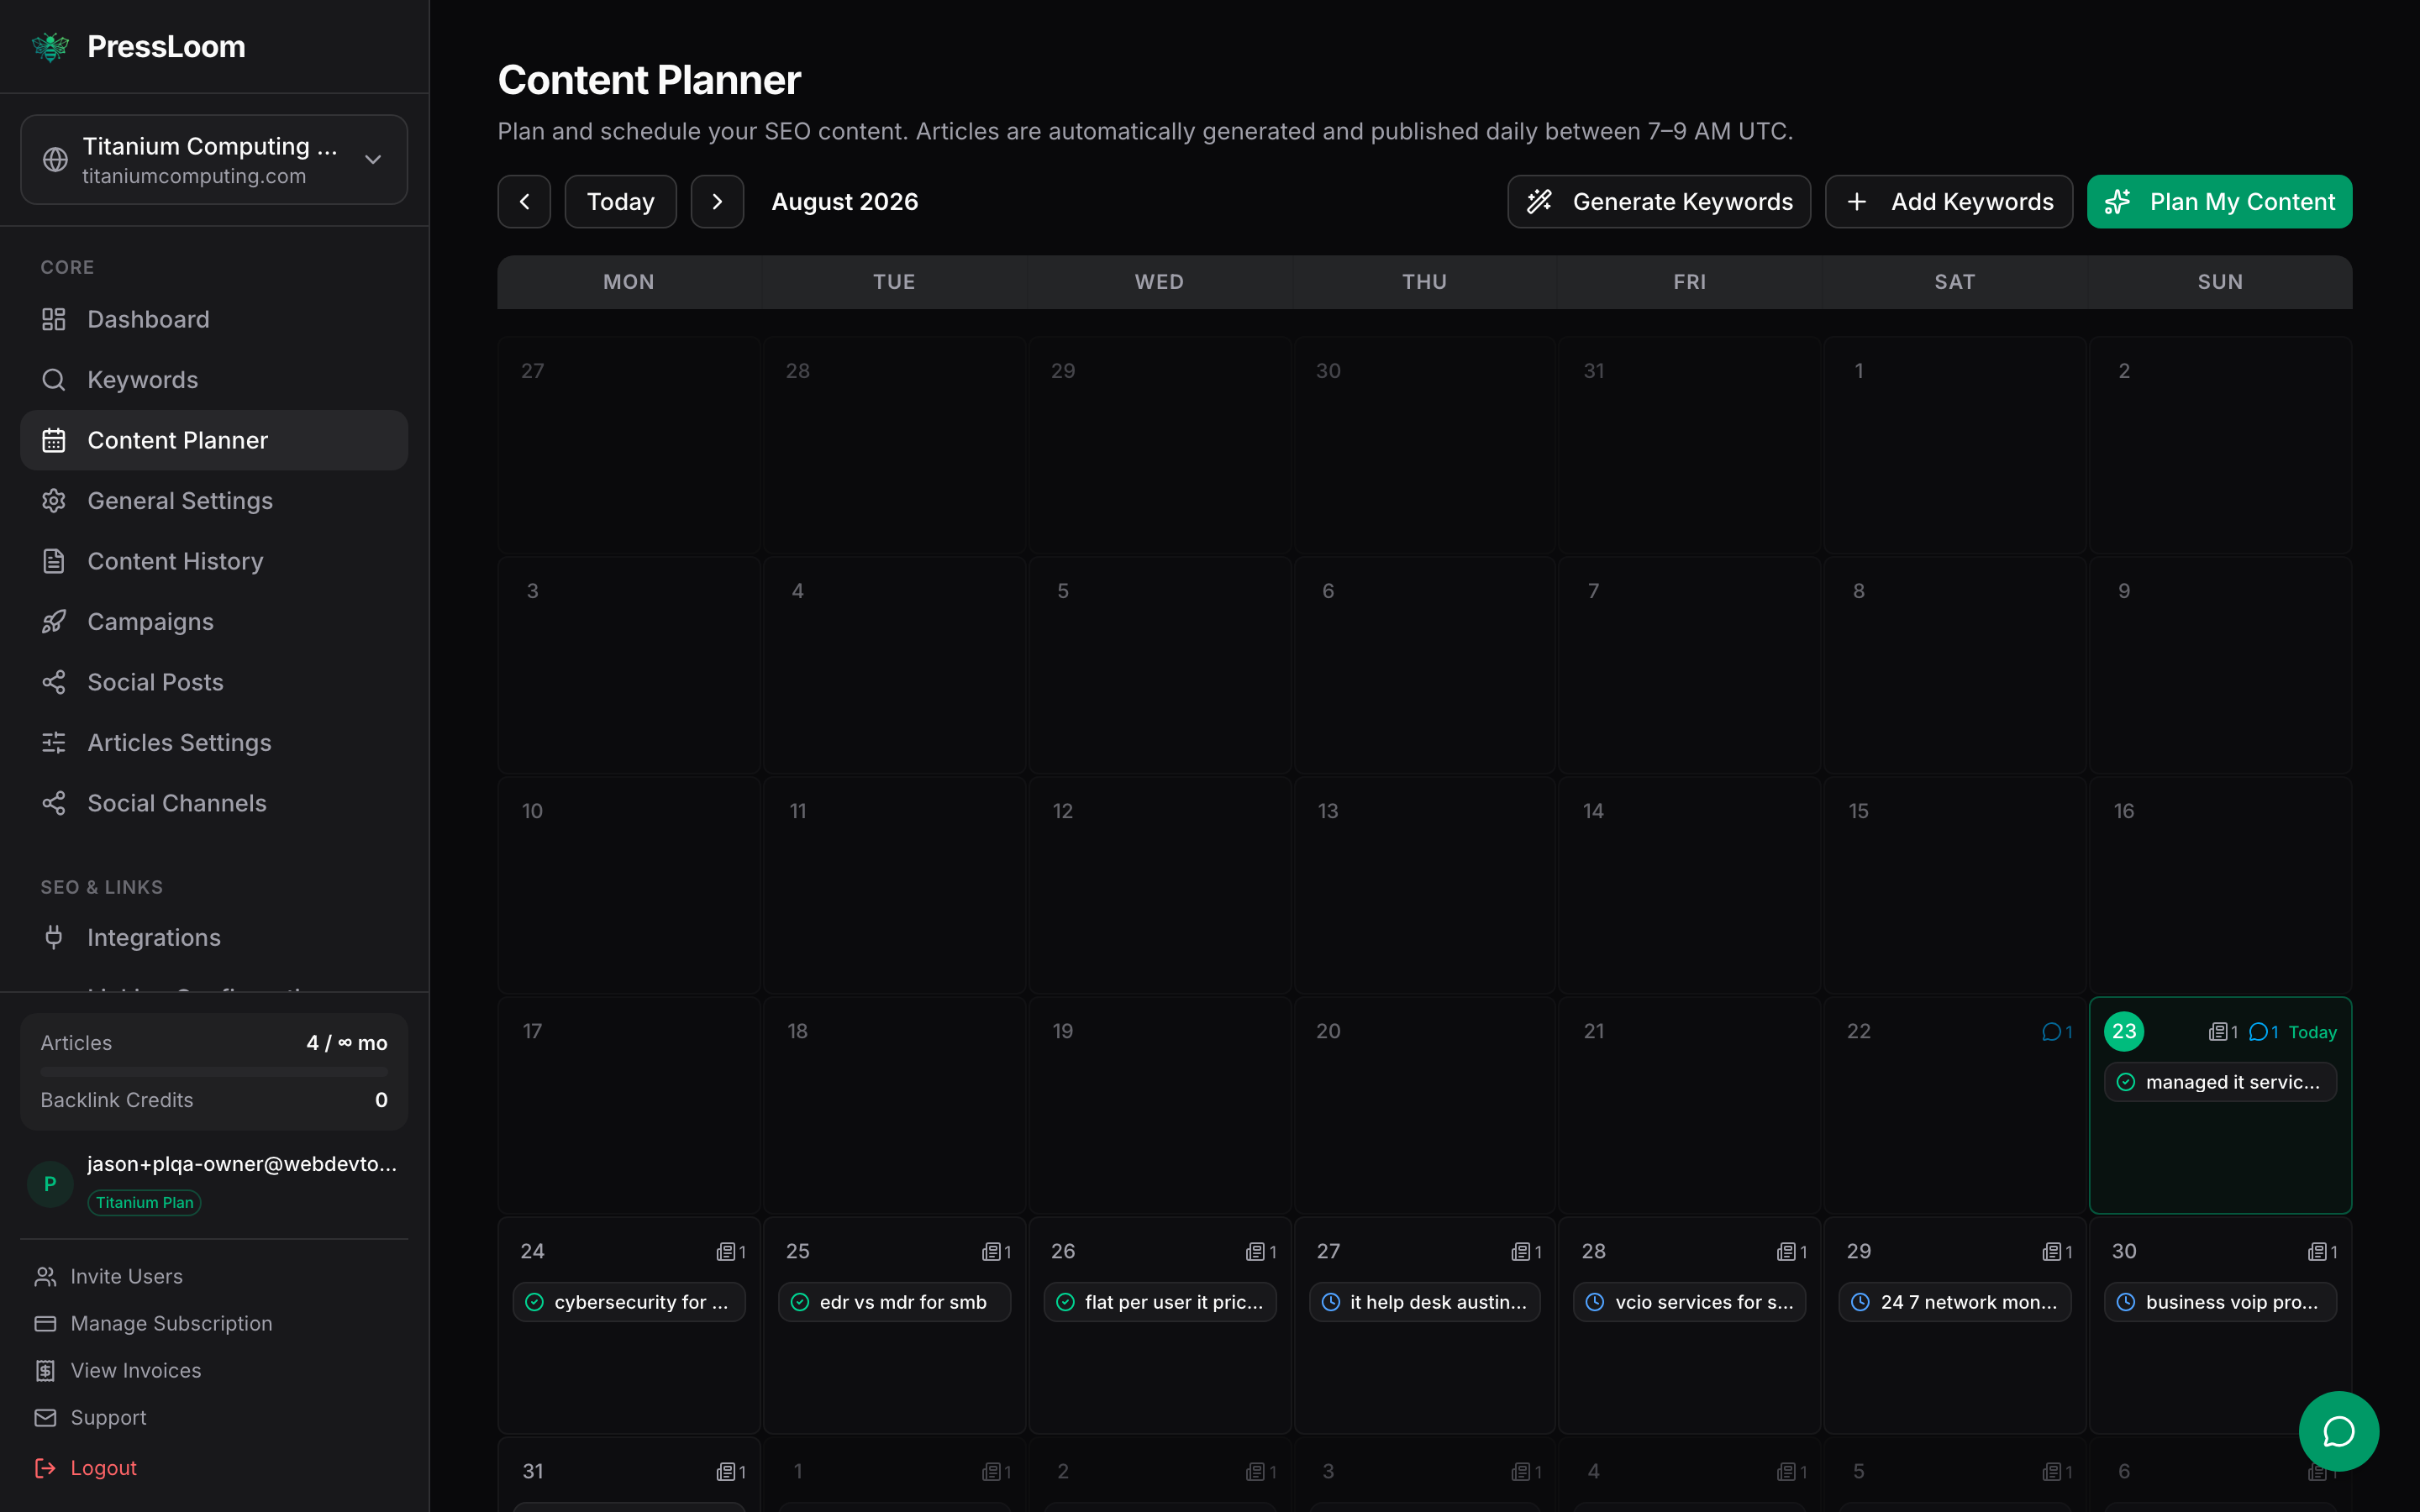
Three buttons sit above the calendar:
- Generate Keywords researches new topics and adds them to the calendar.
- Add Keywords lets you type in a topic you already know you want.
- Plan My Content works over the keywords already on the calendar and gives each one a title and an angle.
Each card carries a status icon. A blue clock means the topic is scheduled but nothing has been written yet. A green tick means the article exists.

Hover or click a card and it opens into a fuller view with the keyword, its search volume and difficulty, and the buttons that actually write the article.
The Content Planner says articles are generated and published automatically every morning. That's what the daily schedule does once background processing is enabled for your account. Until then nothing runs on its own, and every article is written when you click a button. Ask Titanium whether your account has it turned on.
Your first article in about ten minutes
Nothing below depends on background processing or on having connected your website. You can do all of it in one sitting.
1. Get keywords onto the calendar
If setup already filled your calendar with cards, skip ahead to step 2. Otherwise click Generate Keywords.
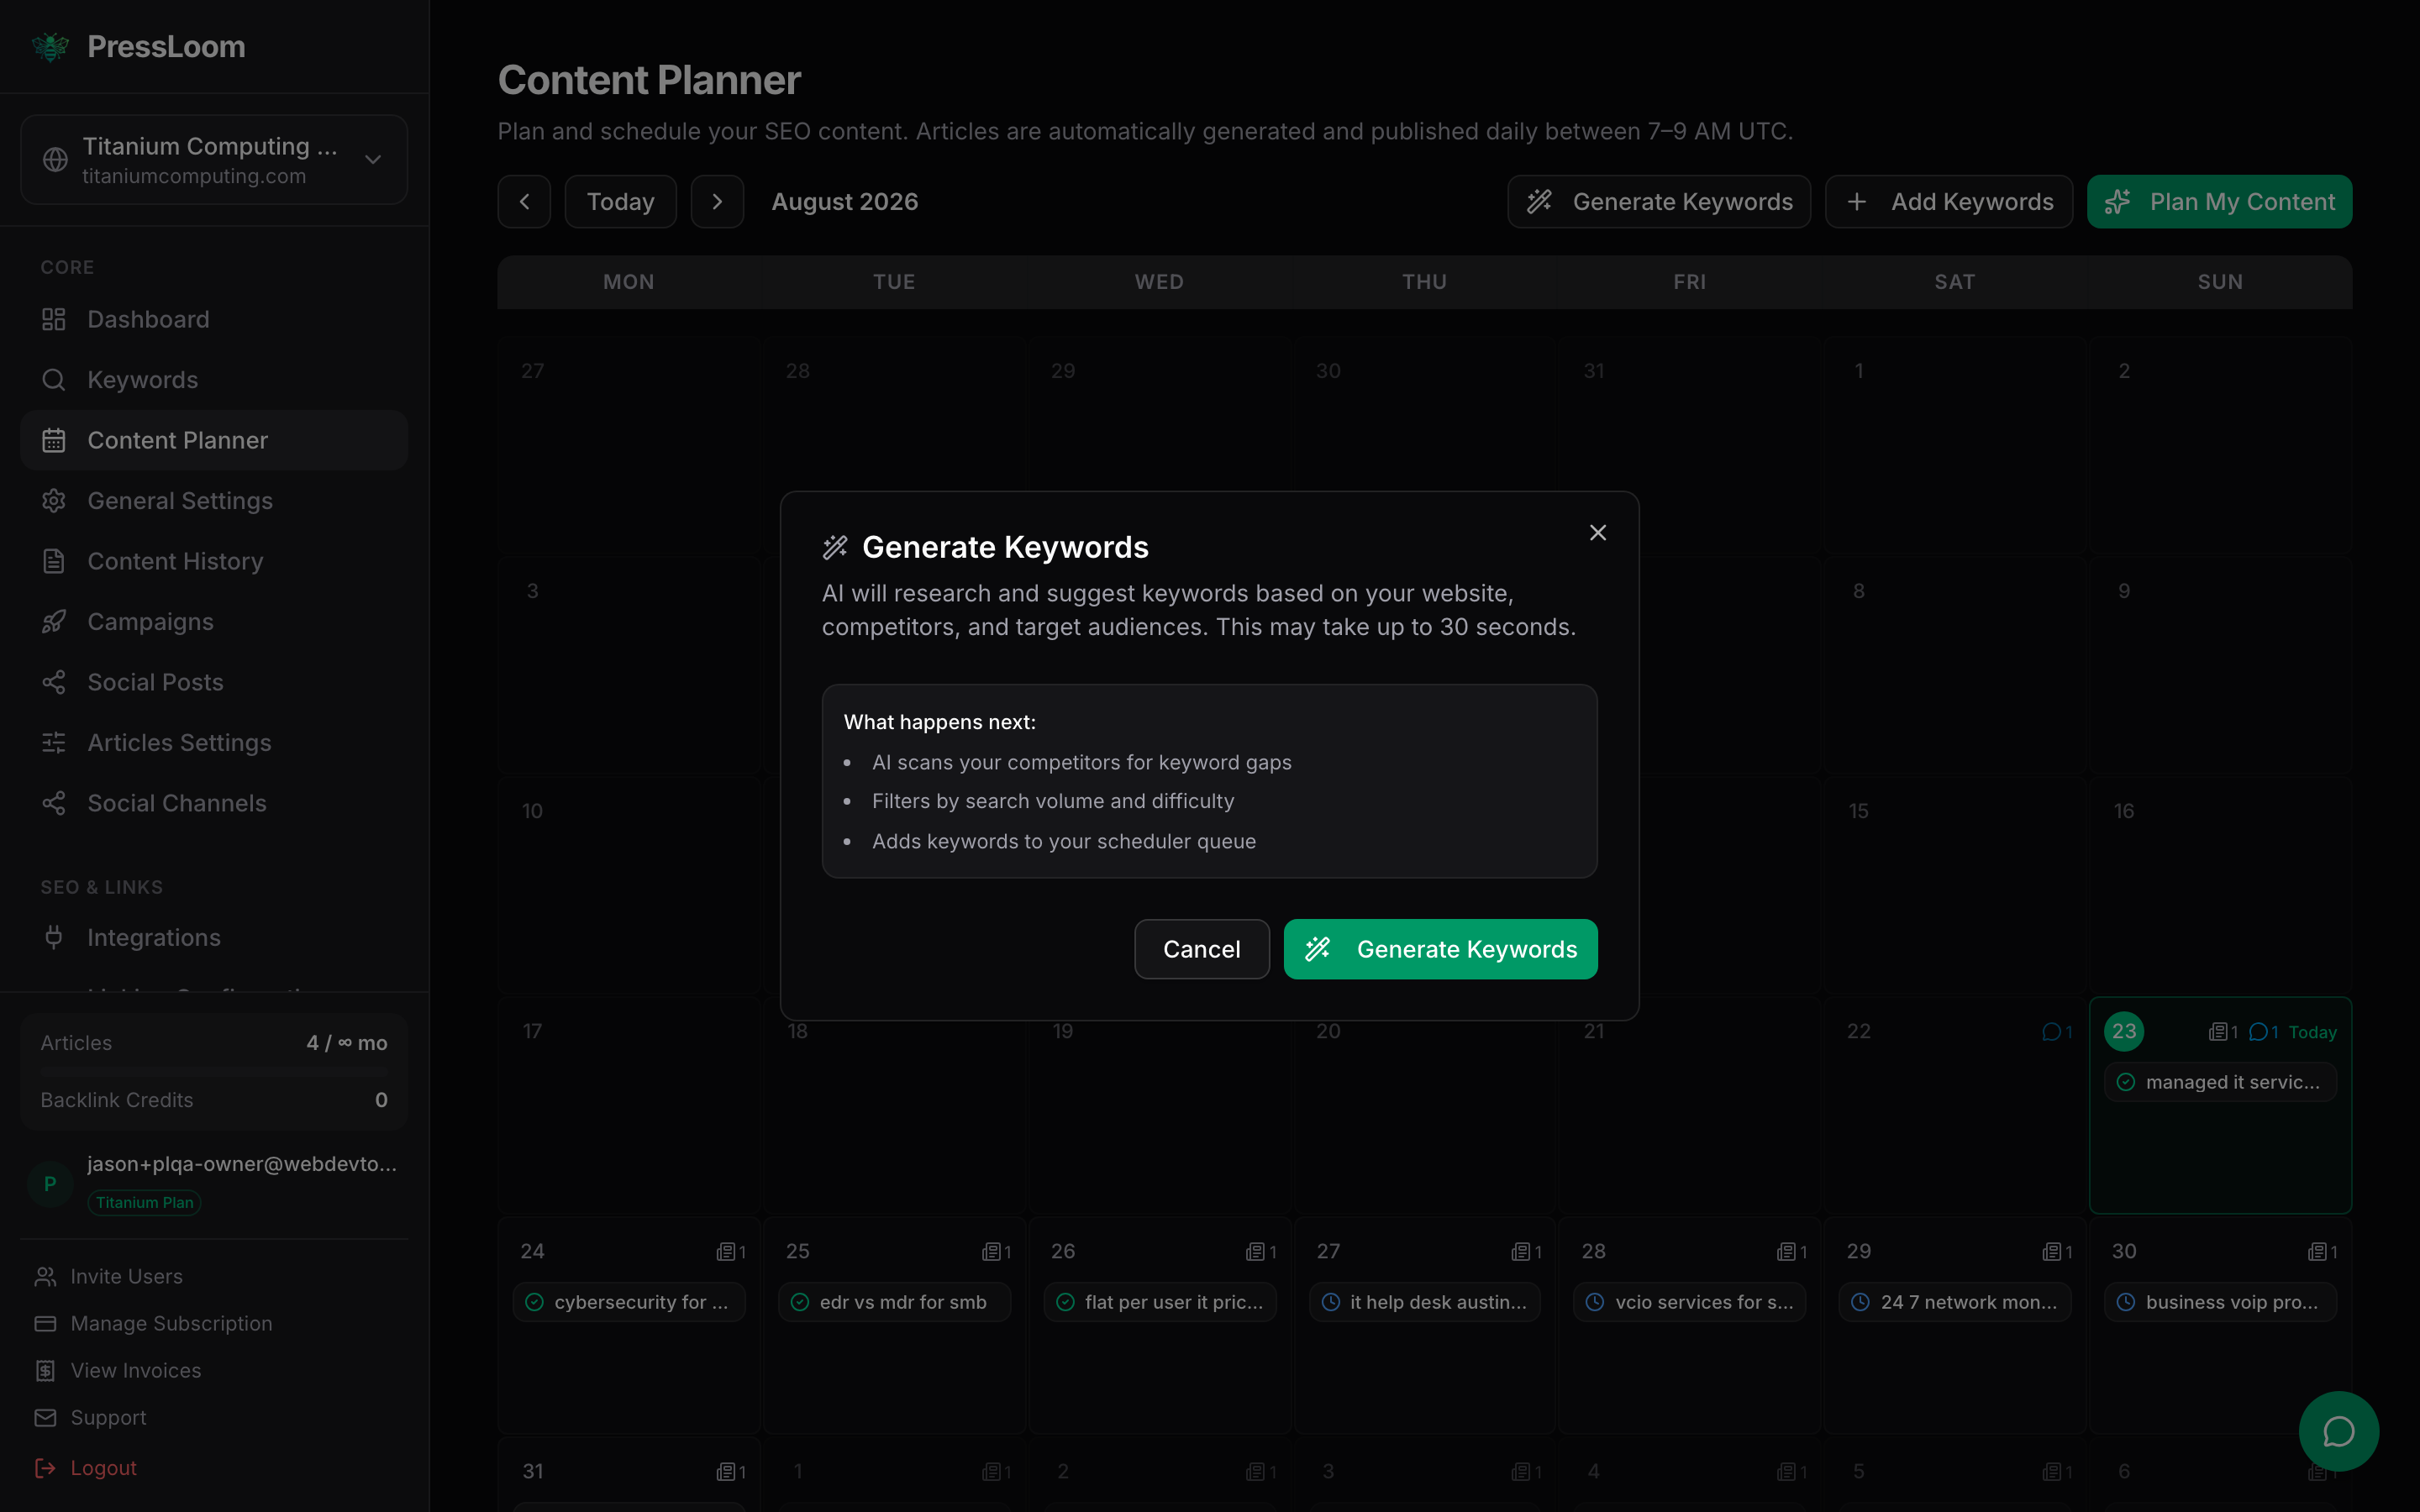
Click the green Generate Keywords button in the dialog and give it up to thirty seconds. When it finishes, the calendar fills with cards spread across the coming days. If it comes back saying it has no competitors or target audiences, go to Settings, add one of each, and try again.
2. Pick a card
Open any card with a blue clock. Read the keyword. If it's a topic you'd actually want on your site, it's a good first one. If it isn't, close it and pick another. You're not committed to the order the calendar suggests.
3. Write it
The card gives you two ways to write:
- Pre-Create writes the article and leaves it as a draft. Nothing goes to your website.
- Create & Publish writes the article and sends it to your connected website.
For your first article use Pre-Create. You want to read what PressLoom produces before anything reaches a live site.
Writing takes about two minutes. Leave the tab open while it runs. What comes back is a full article, usually three to five thousand words, with a title, headings, a key takeaway callout and its own meta description.
4. Read it
When the card reports the article is ready, open it. The article page shows the finished piece with a details card down the right listing the target keyword, the article type, the word count, and the search volume and difficulty of the keyword it was written for.
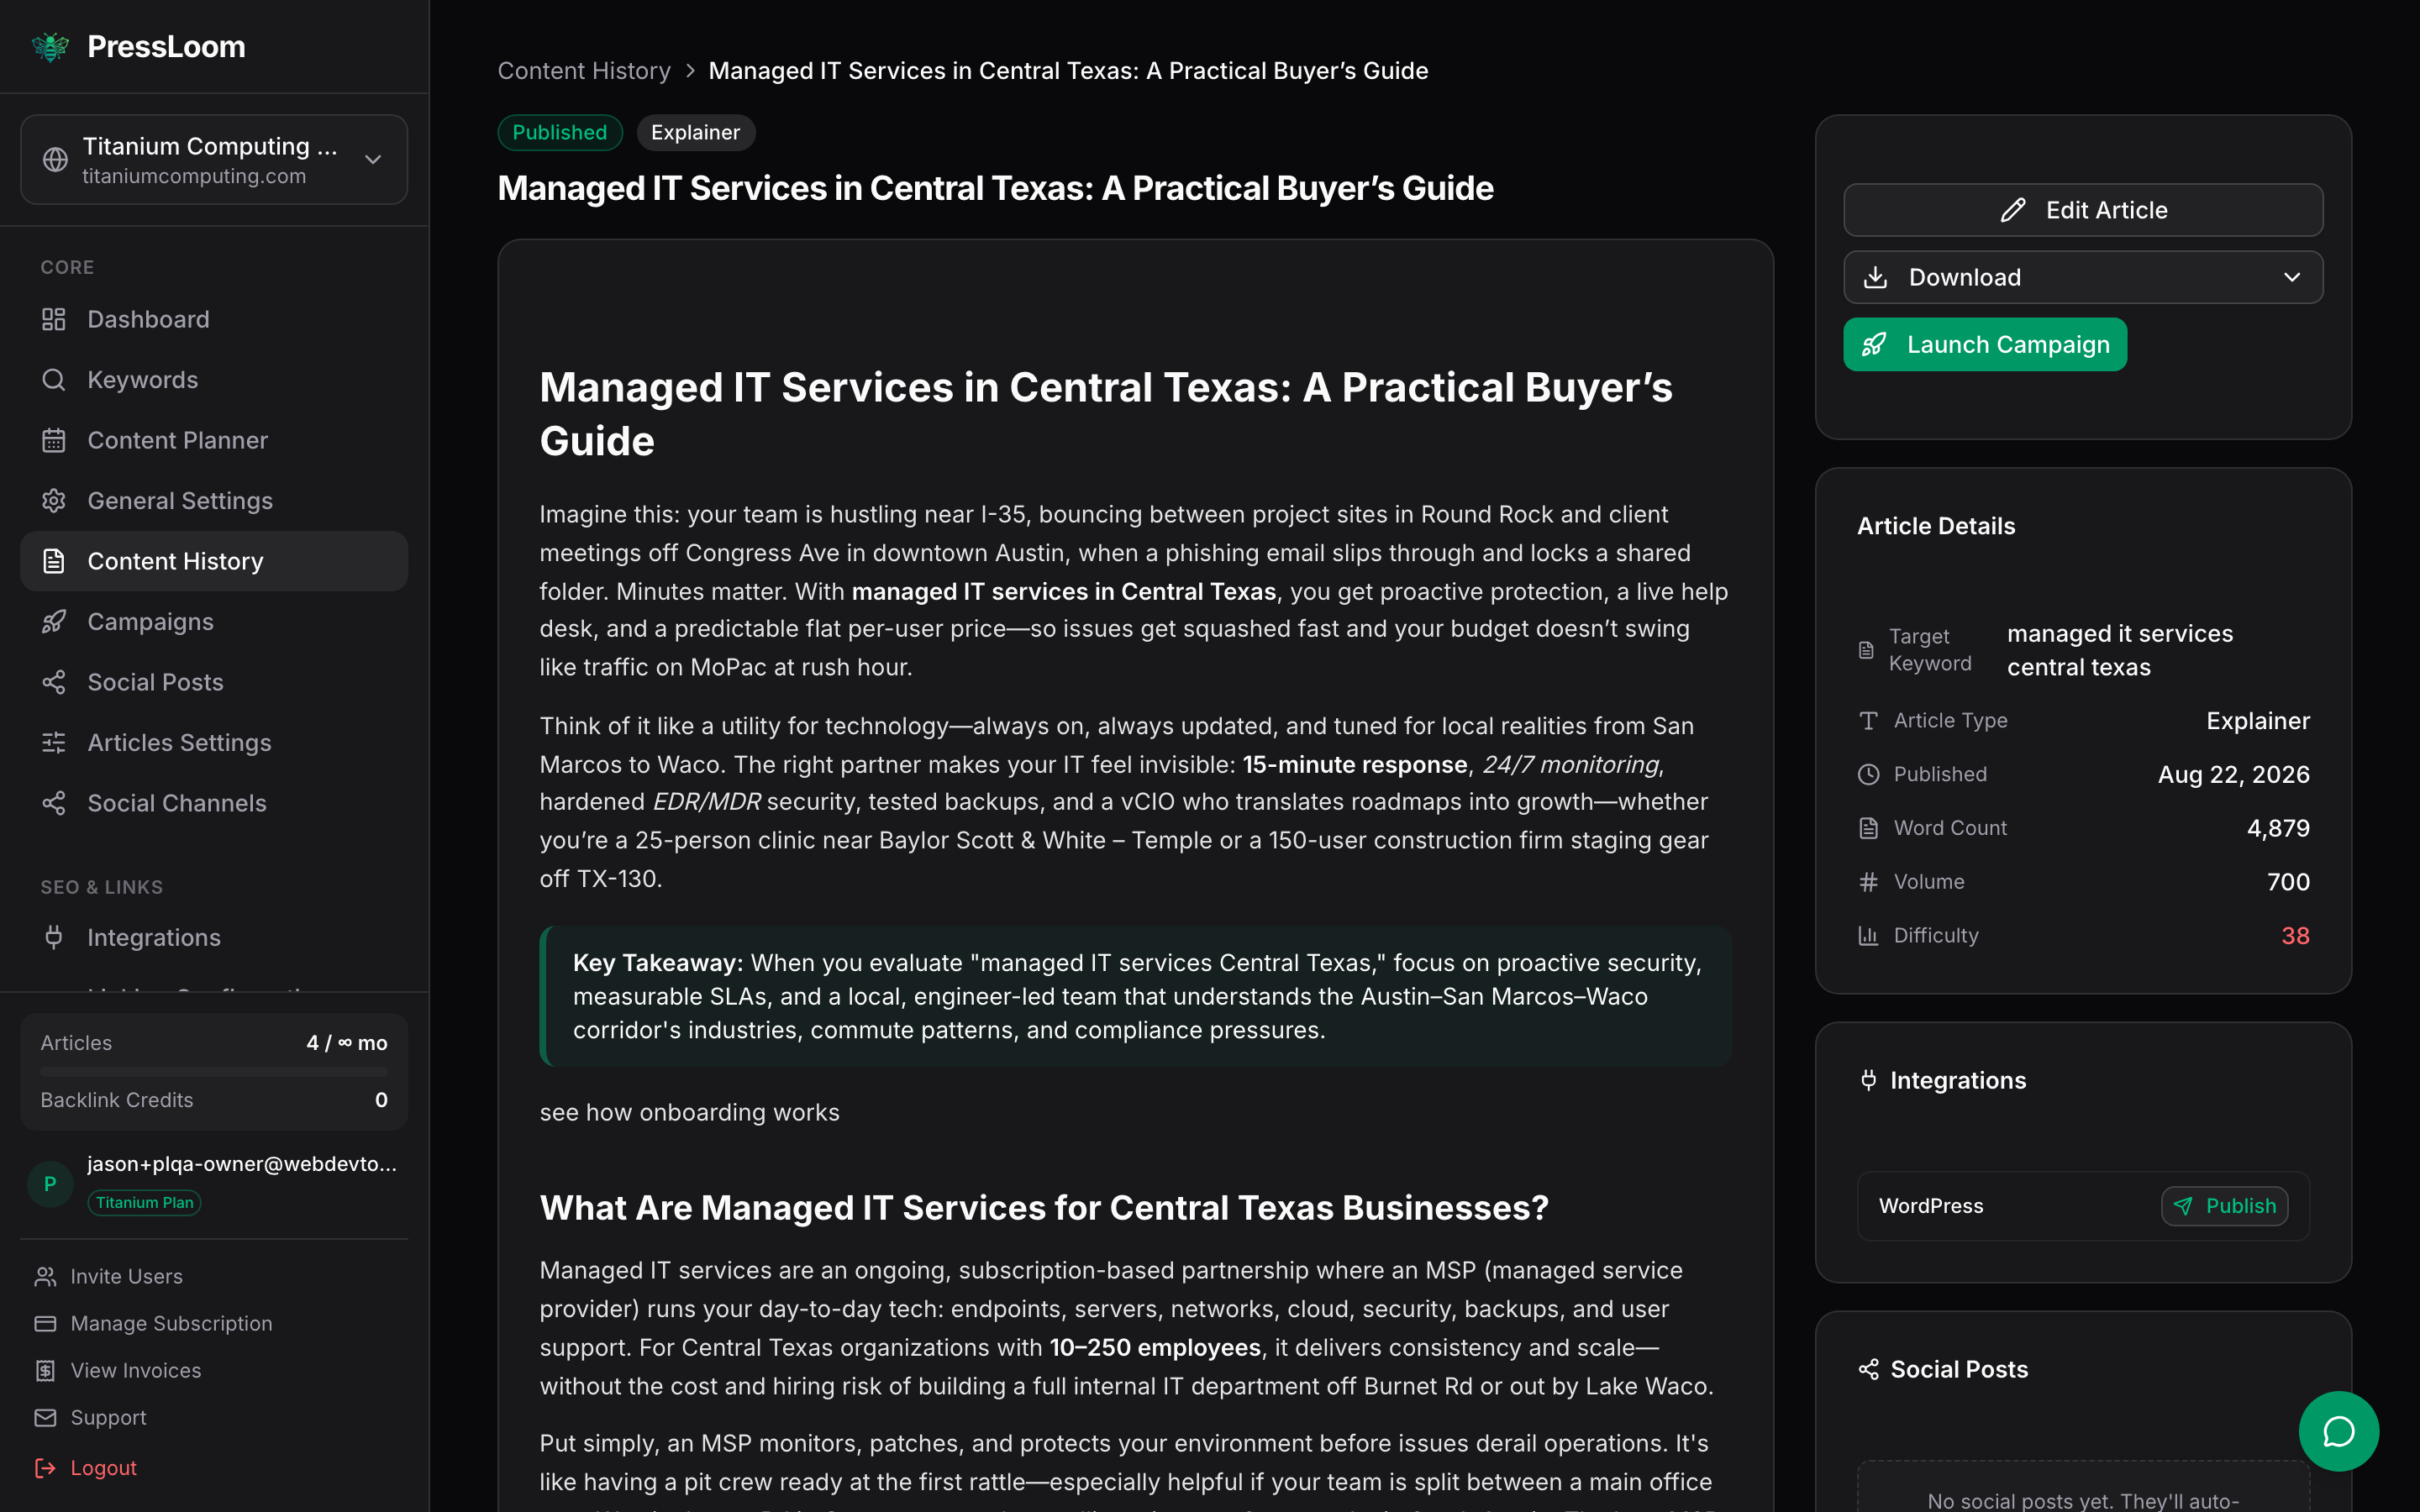
Read it properly before you do anything else with it. It's a solid draft written from what you told the wizard, not a finished piece with your name on it. Check the claims about your business, your prices and your service area.
5. Edit it
Click Edit Article. The reading view swaps for a plain text box holding the article's source.
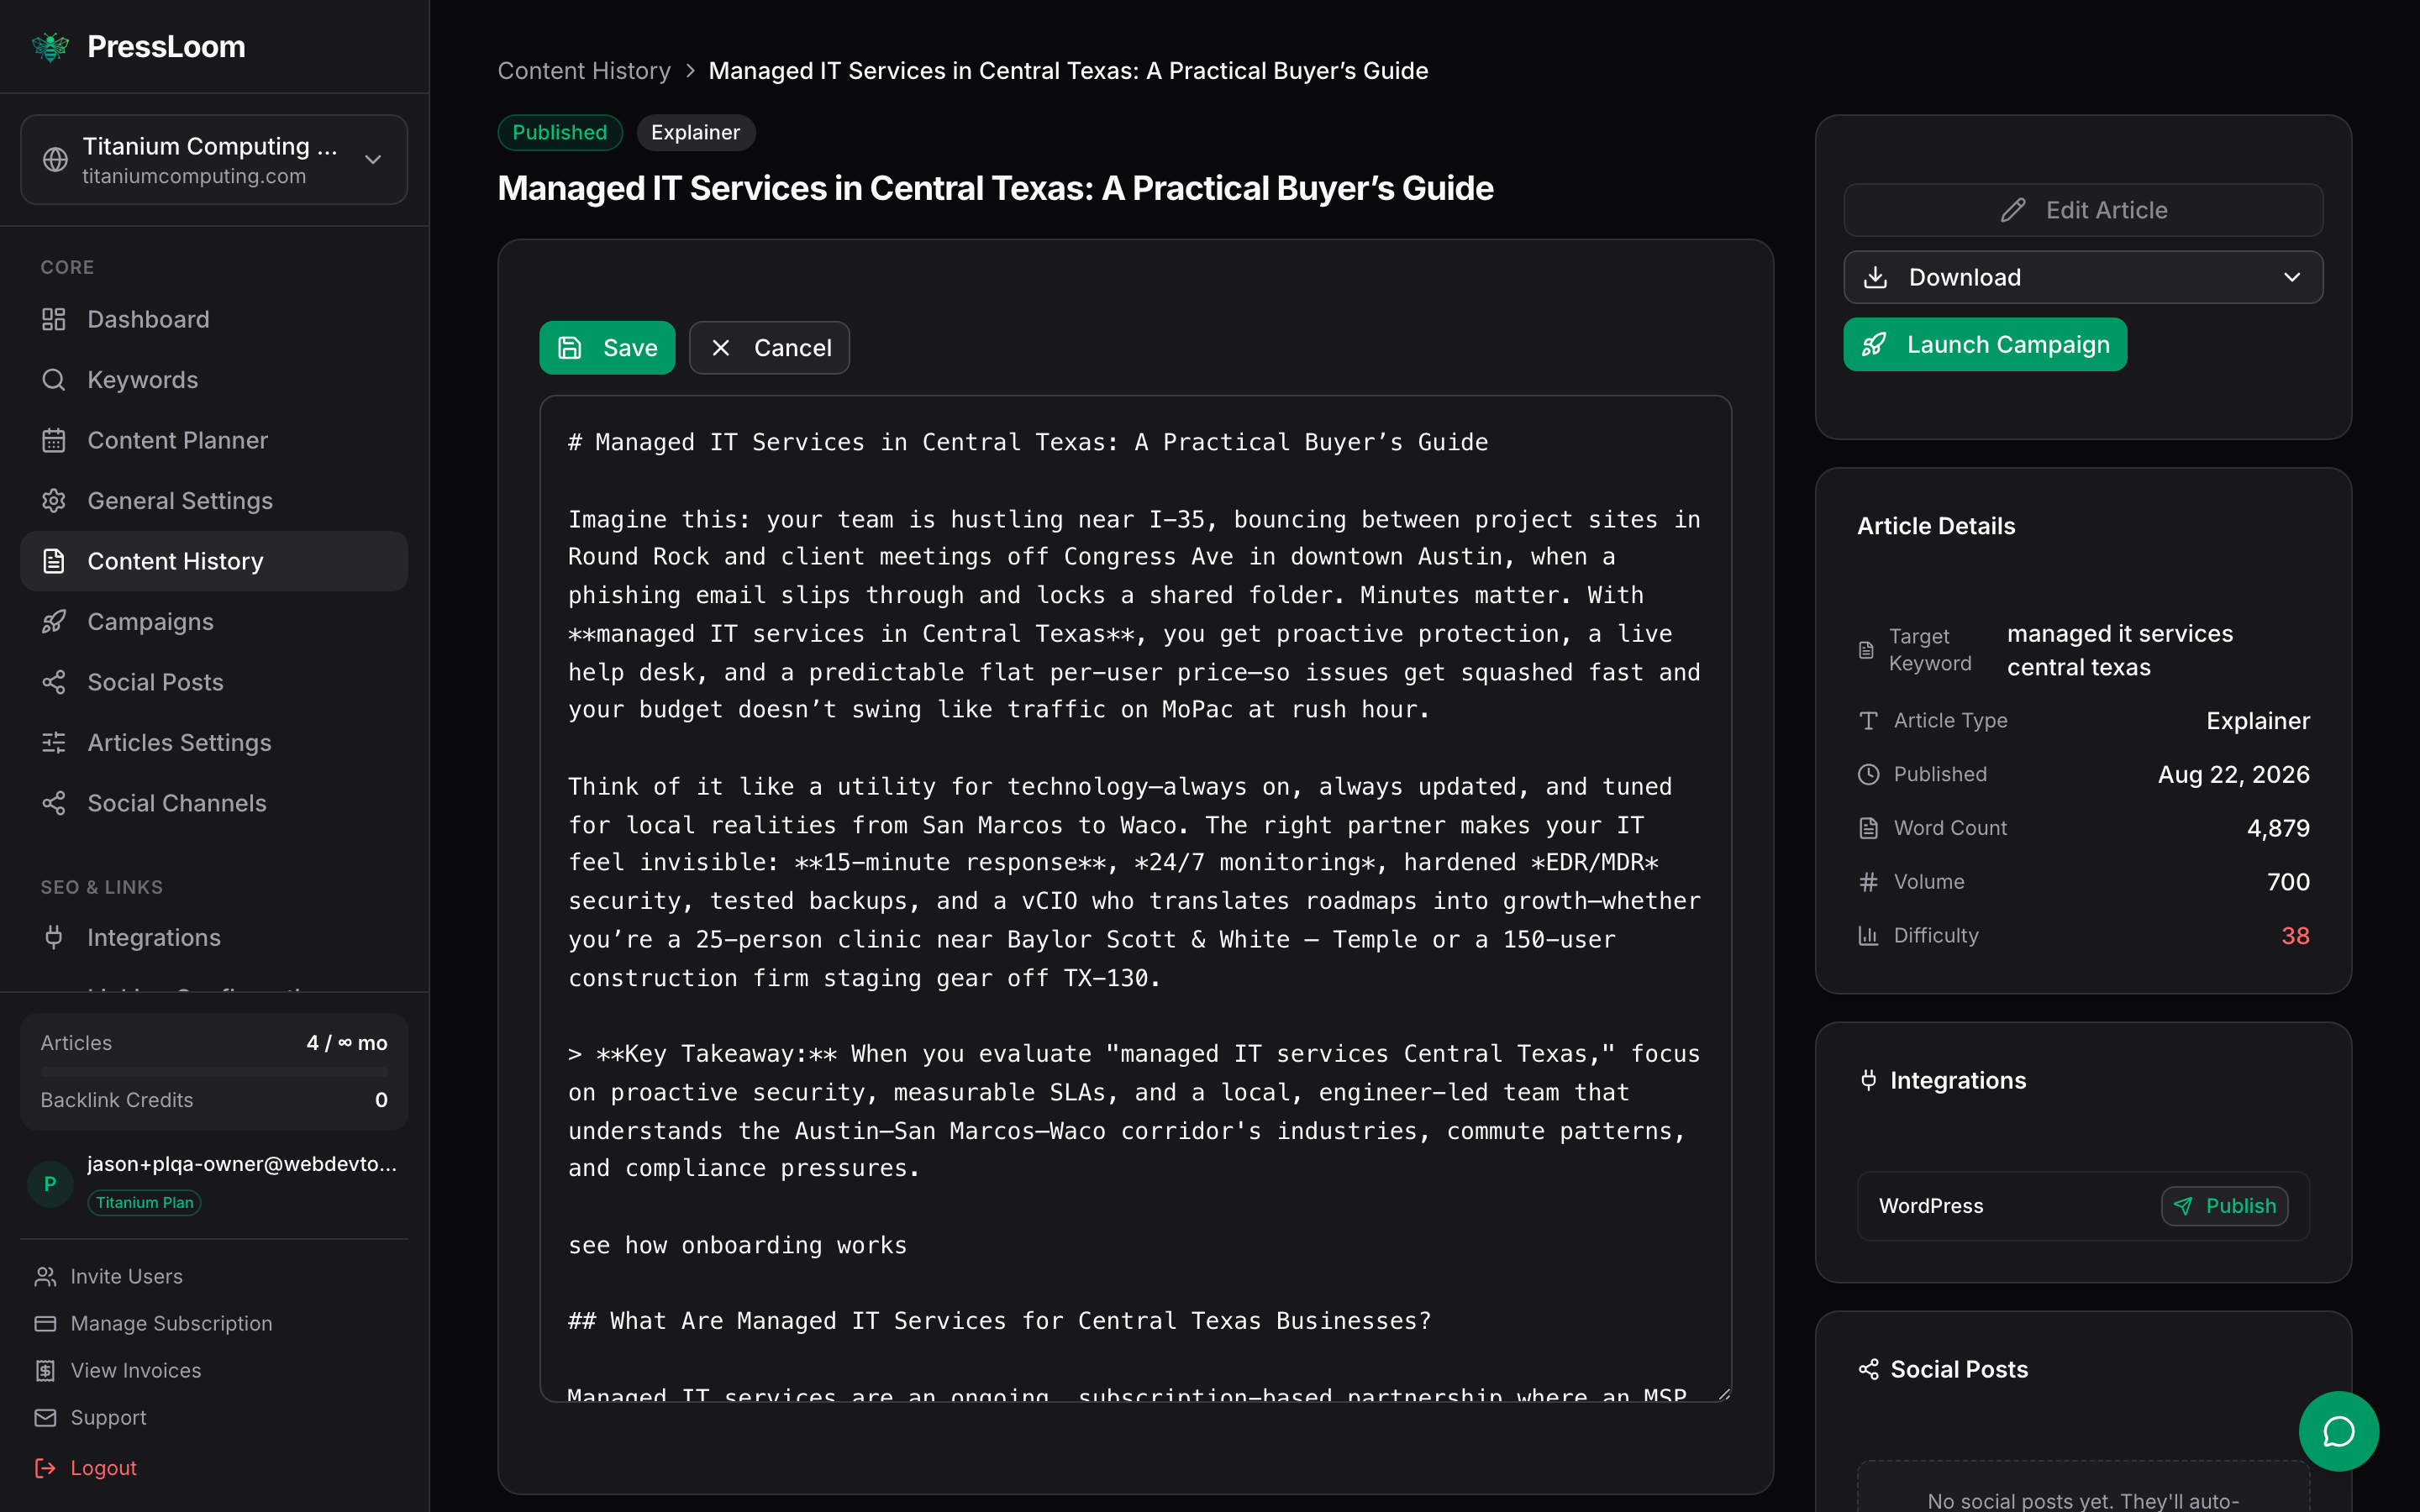
The formatting is Markdown, which is simpler than it looks. A line starting with # is a heading, more # characters make a smaller heading, text wrapped in ** comes out bold, and a line starting with > is a callout. Everything else is ordinary text. To fix a sentence, just fix the sentence.
Click Save when you're done, or Cancel to throw the changes away. Saving puts you back in the reading view with your edits in place.
6. Take it with you
Click Download and pick a format.
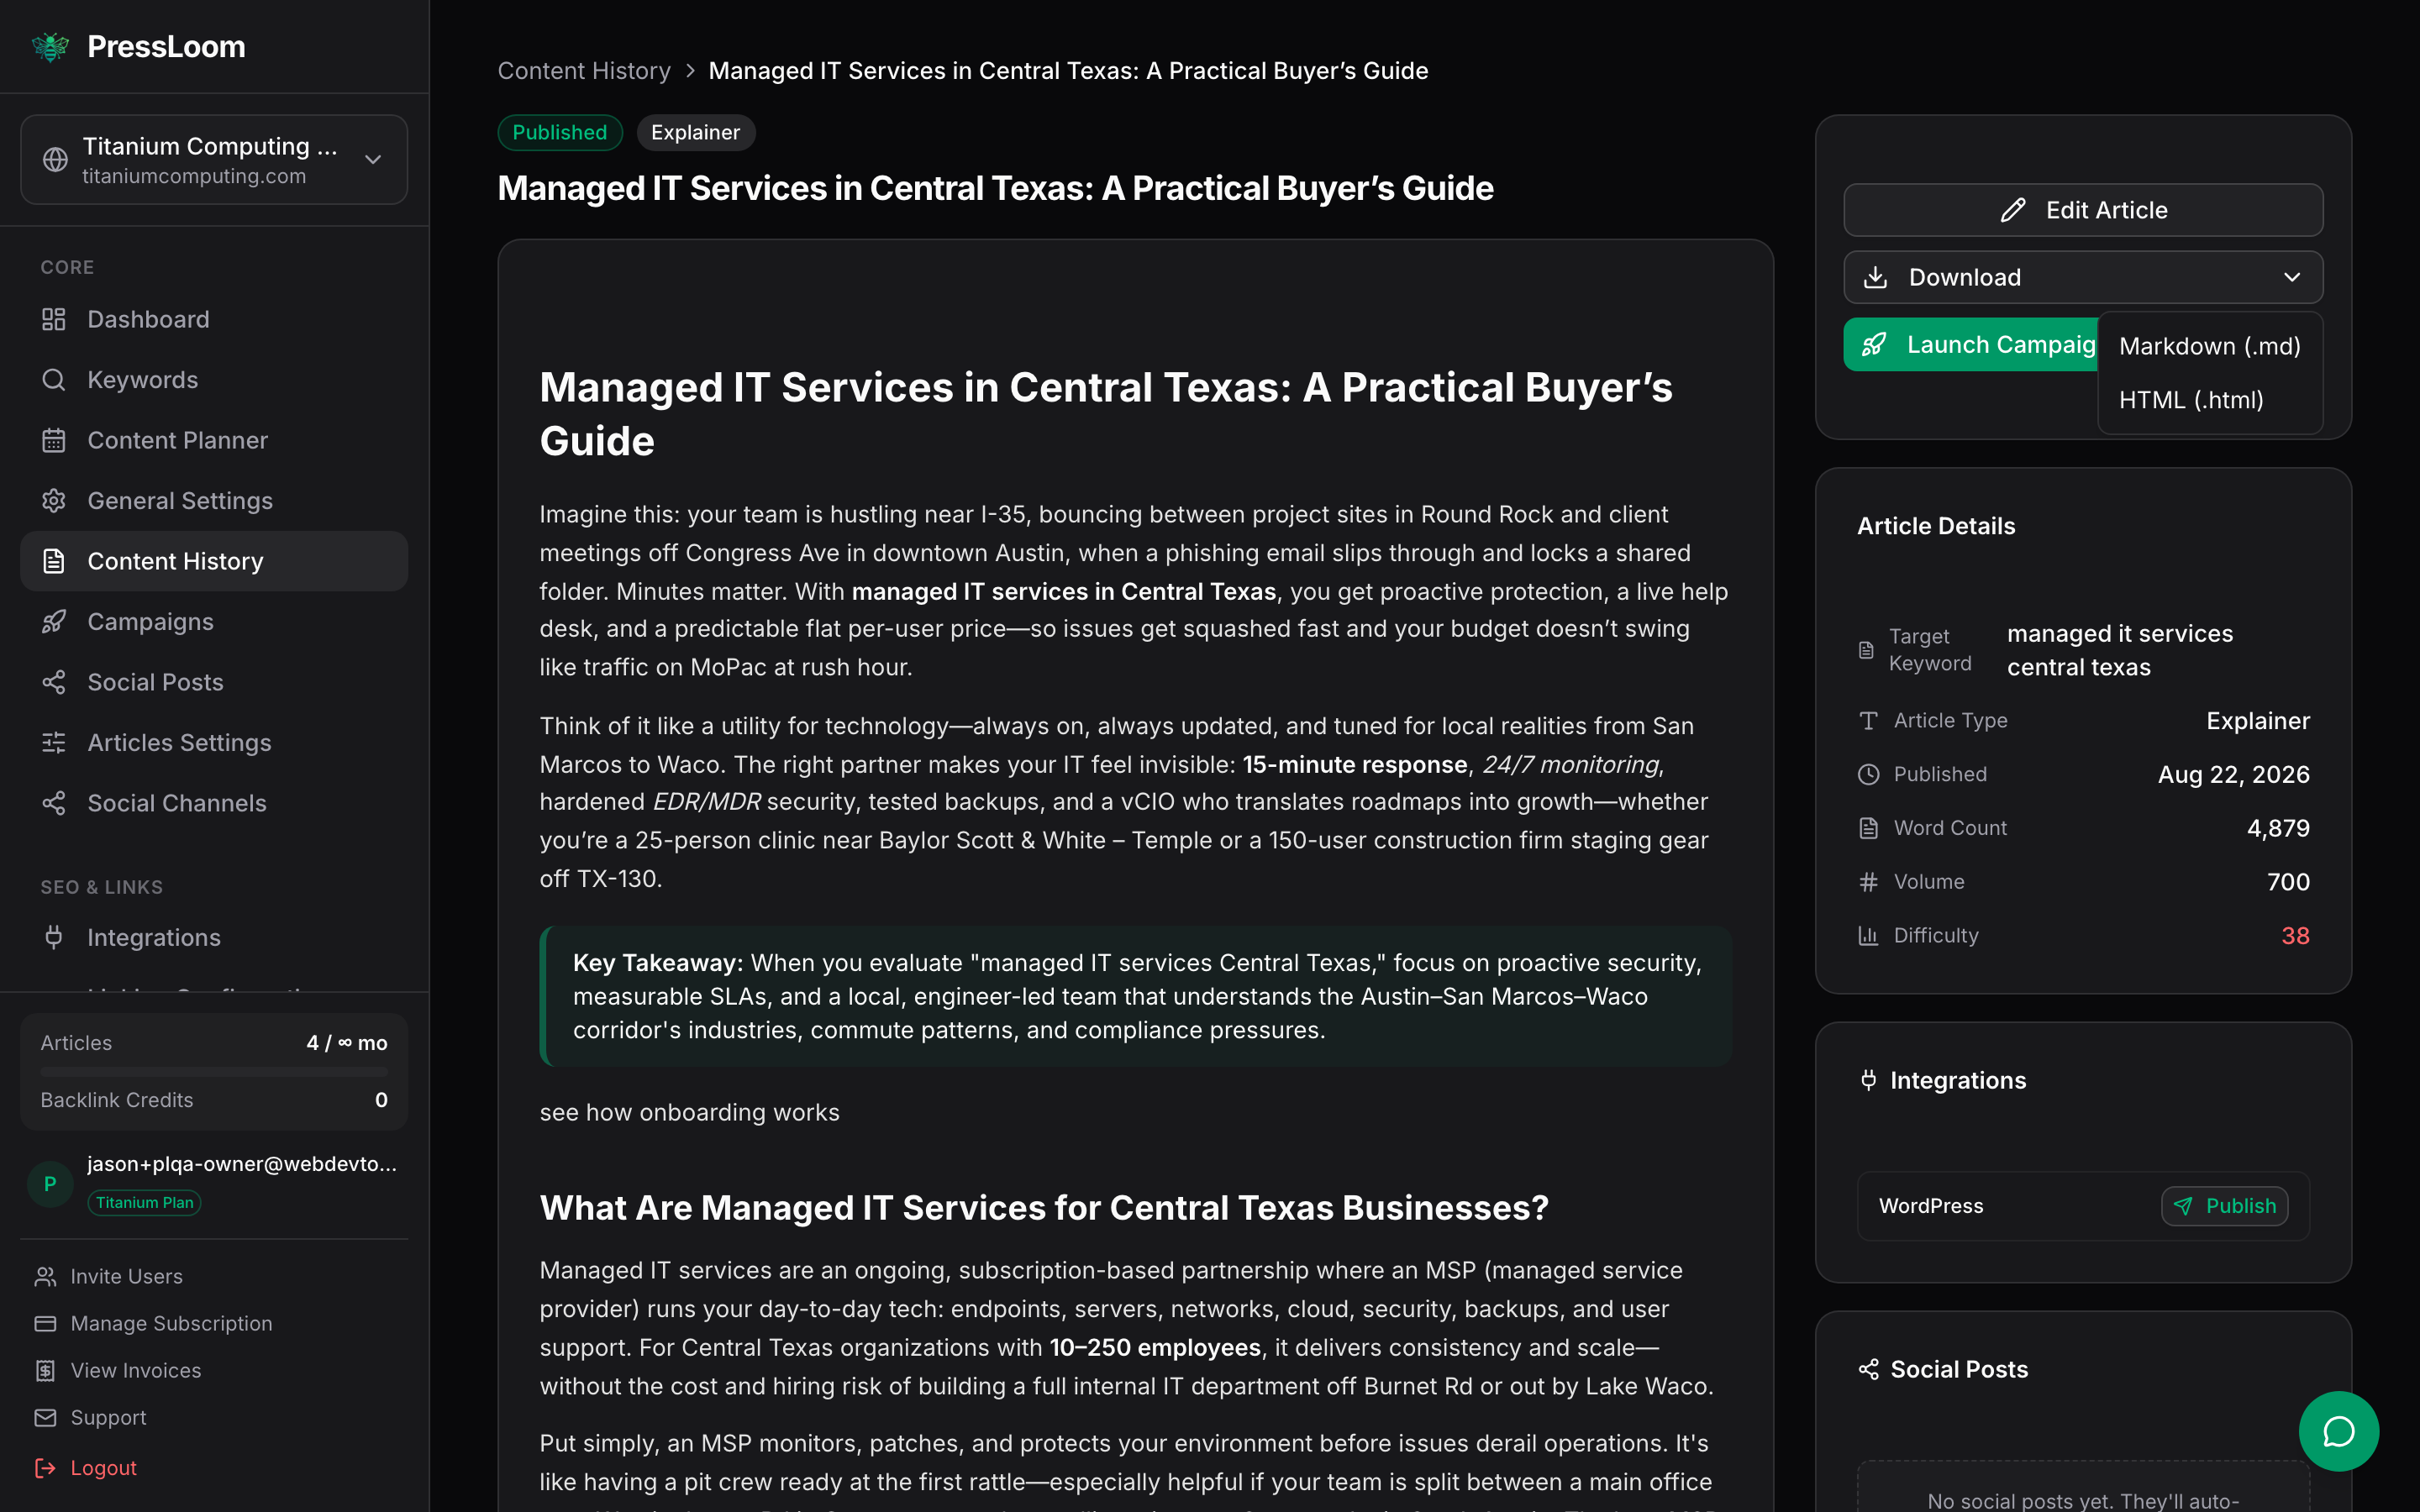
Take HTML (.html) if someone is going to paste the article into a website. Take Markdown (.md) if you want the plain source, for example to hand to a person who'll do the formatting. Either file downloads to your computer, named after the article.
That's the loop. Keyword, write, read, edit, download. Repeat it for as many cards as you want.
Changing your answers later
Nothing you typed in the wizard is locked. Everything lives under Settings, in the same shape, and saves as soon as you click the button.
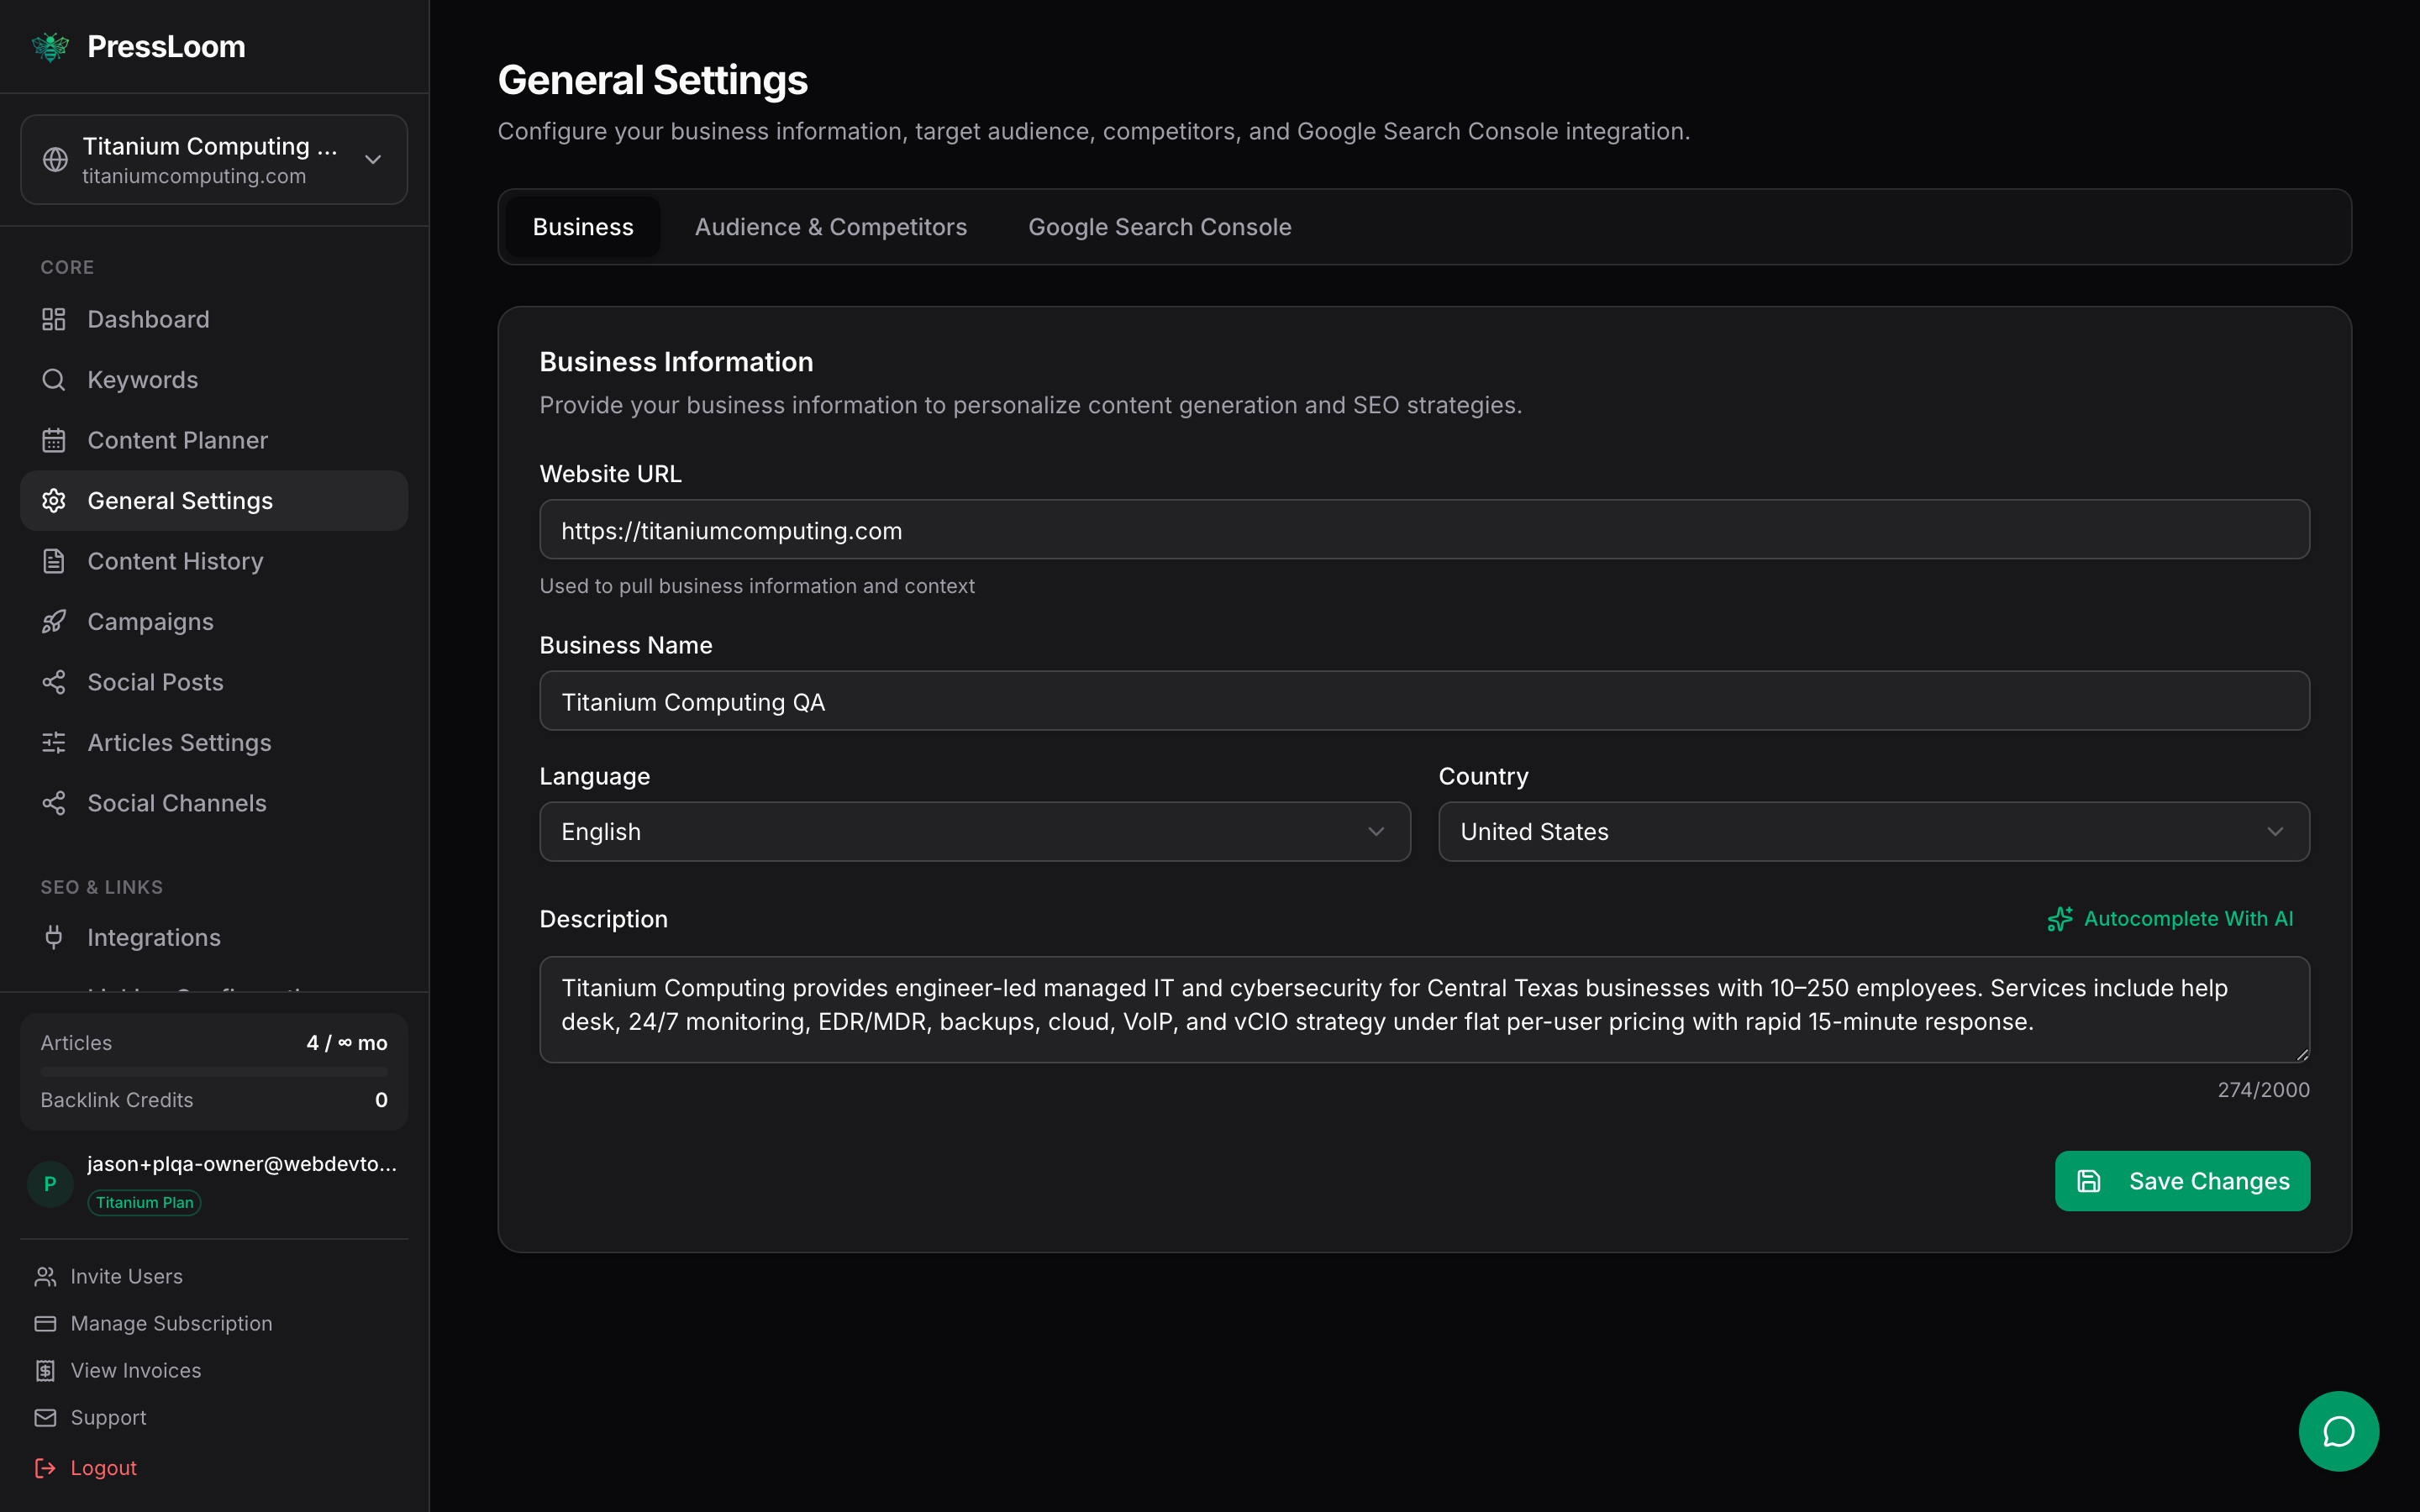
If your first few articles miss the mark, the description and your audience list are the two places to fix it. Rewrite the description so it names what you sell and who buys it, sharpen the audiences, then generate fresh keywords.
What next
- Keywords & planner, for managing the calendar and choosing what gets written.
- Articles, for the article list, the editor and publishing controls in more depth.
- Connect your site, for sending finished articles to WordPress or a Git-backed site. This is the one page worth handing to whoever runs your website.
- Settings, for business details, audiences, competitors and article preferences.
- Help & FAQ, if something doesn't behave the way this page says it should.